
eSign / Digital Signature Partners guide
As a Digital Signature / eSign / Document signing partner working with Keka you can follow these steps to enable your customers to Initiate document signing through Keka with approval workflows and upload the signed documents back to Keka
Step 1: Create a new eSignature App
-
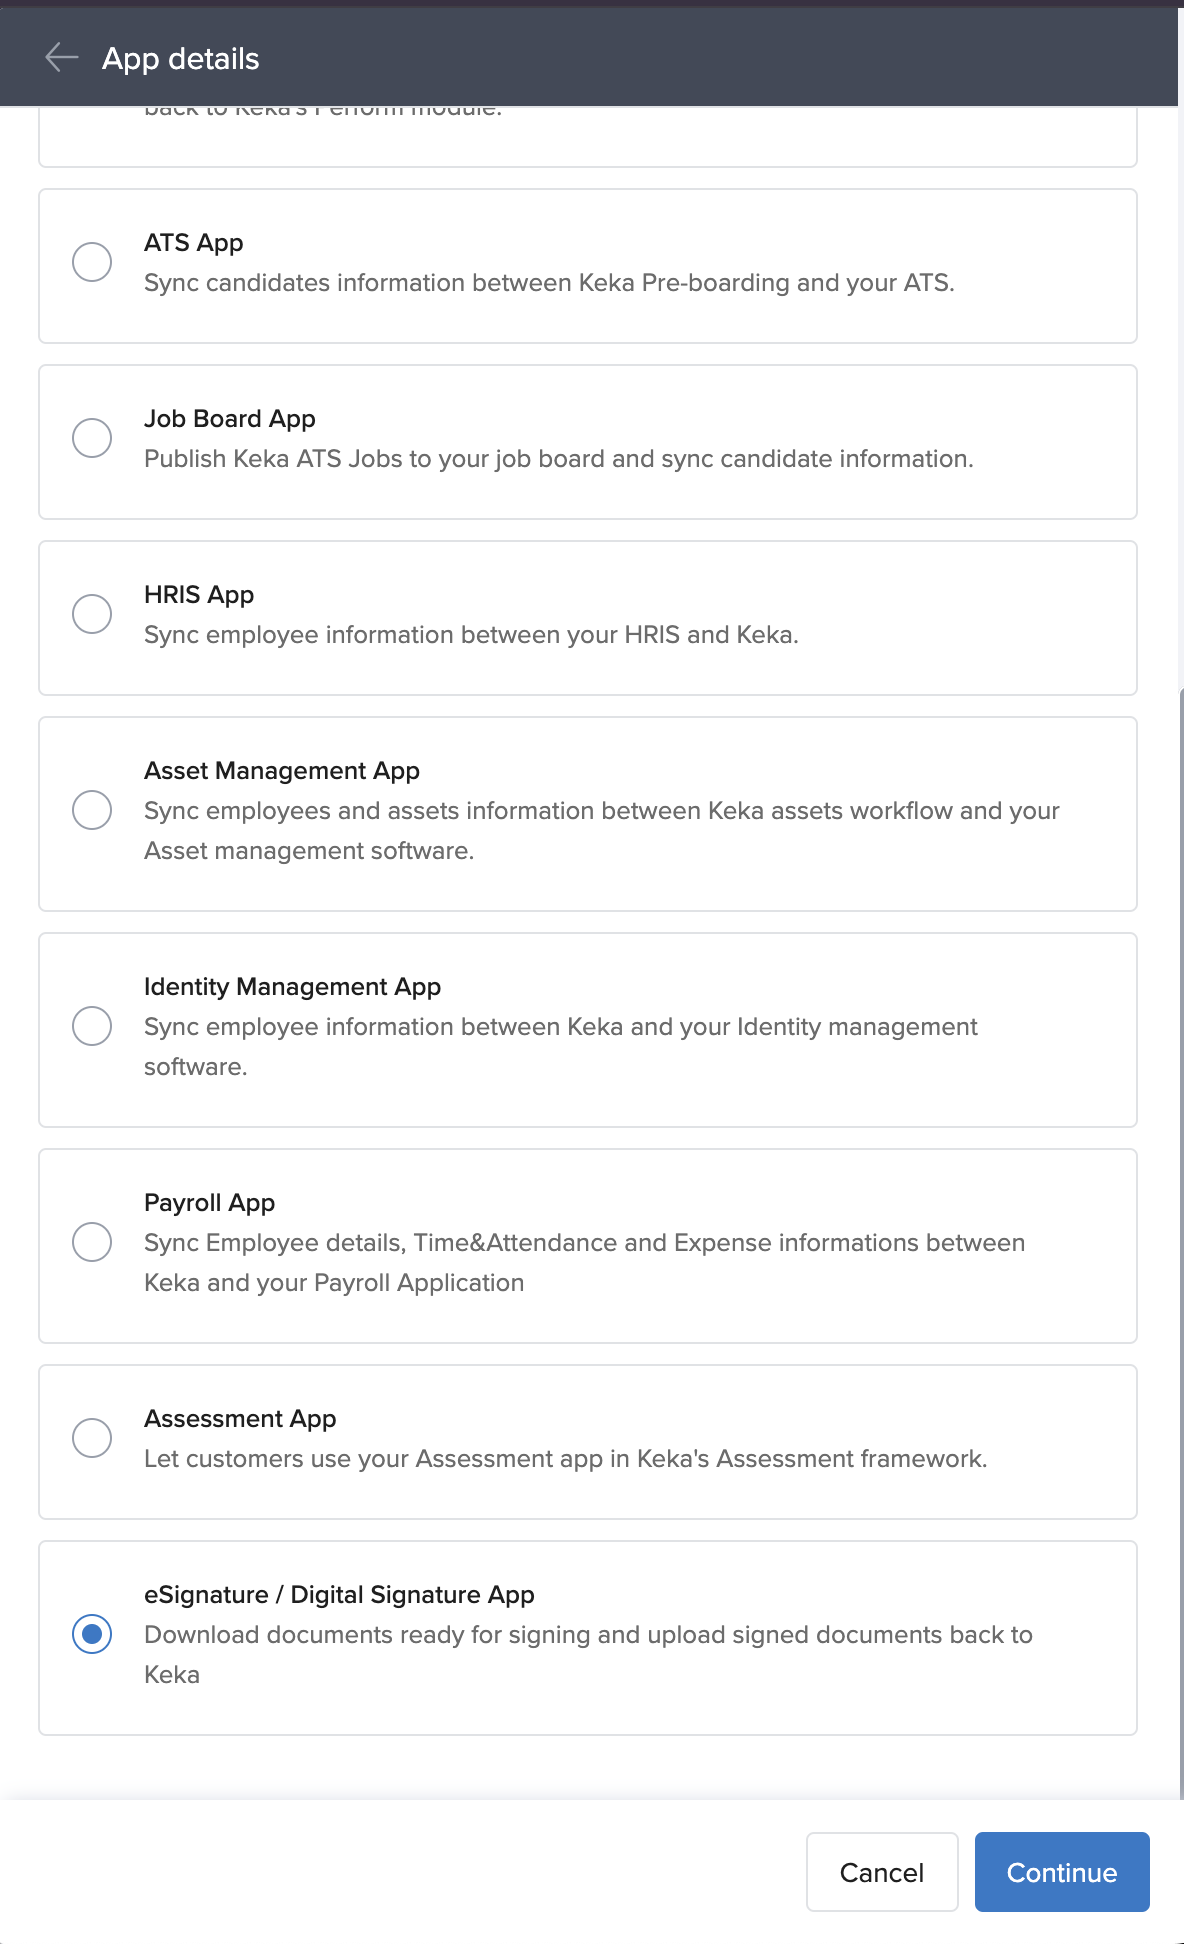
Create a "New App" using the Keka App portal
-
Select the "eSignature App" template to configure the permissions automatically.
-
Configure your app by adding the required info in the App URL tab
- Redirect URL (for Production and Development)
- Company Name
- Short Description
-
Check the Permissions and Event Subscription tabs
-
Add a Request URL on the "Event Subscription" page, you will receive a Webhook in the following format:
{
  "requestIdentifier": "{{RequestIdentifier}}",
  "employeeNumber": "{{EmployeeNumber}}",
  "employeeName": "{{EmployeeName}}",
  "employeeIdentifier": "{{EmployeeIdentifier}}",
  "jobTitle": "{{JobTitle}}",
  "assigneeEmployeeNumber": "{{AssigneeEmployeeNumber}}",
  "assigneeName": "{{AssigneeName}}",
  "assigneeIdentifier": "{{AssigneeIdentifier}}",
  "assigneeEmail": "{{AssigneeEmail}}",
  "assigneeJobTitle": "{{AssigneeJobTitle}}",
  "vendorId": "{{VendorId}}",
  "vendorName": "{{VendorName}}",
  "templateName": "{{TemplateName}}",
  "generatedOn": "{{GeneratedOn}}",
  "subDomain": "{{SubDomain}}",
  "eventType": "{{EventType}}"
}
This Event subscription can acts as a "trigger" for fetching pending Digital Signature requests for your app
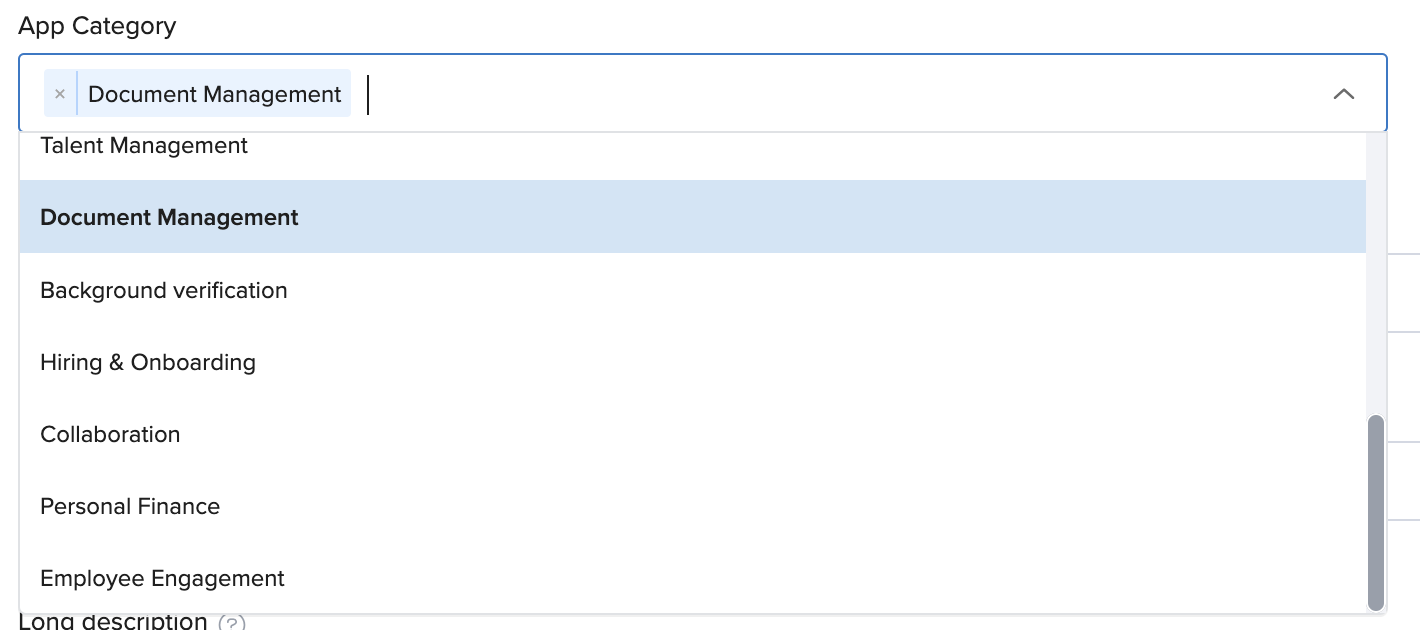
Step 2: Add "Document Management" Category to your app
Without adding the "Background" category your app will not be visible in the Sandbox for testing as an Background Verification Provider
-
Click on the Listing Details tab -> Add "Document Management" as the app category for your app
Step 3: Install your app in the Keka Sandbox
-
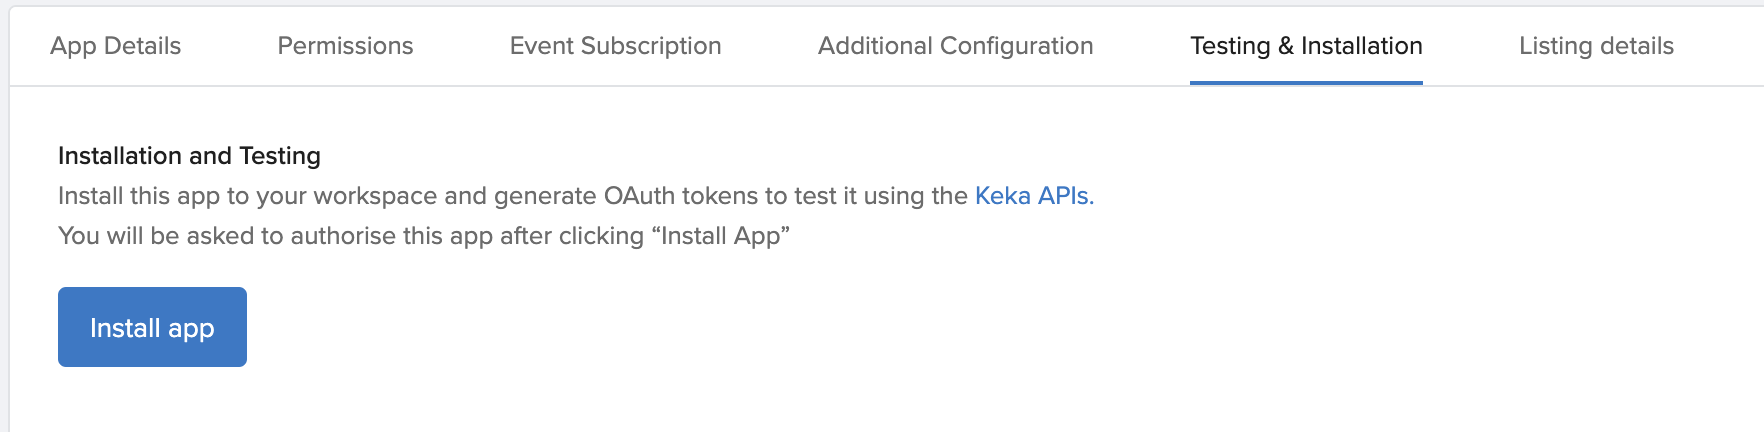
Now click on the Testing and Installation tab, click on the "Install App" button in the Keka App portal
-
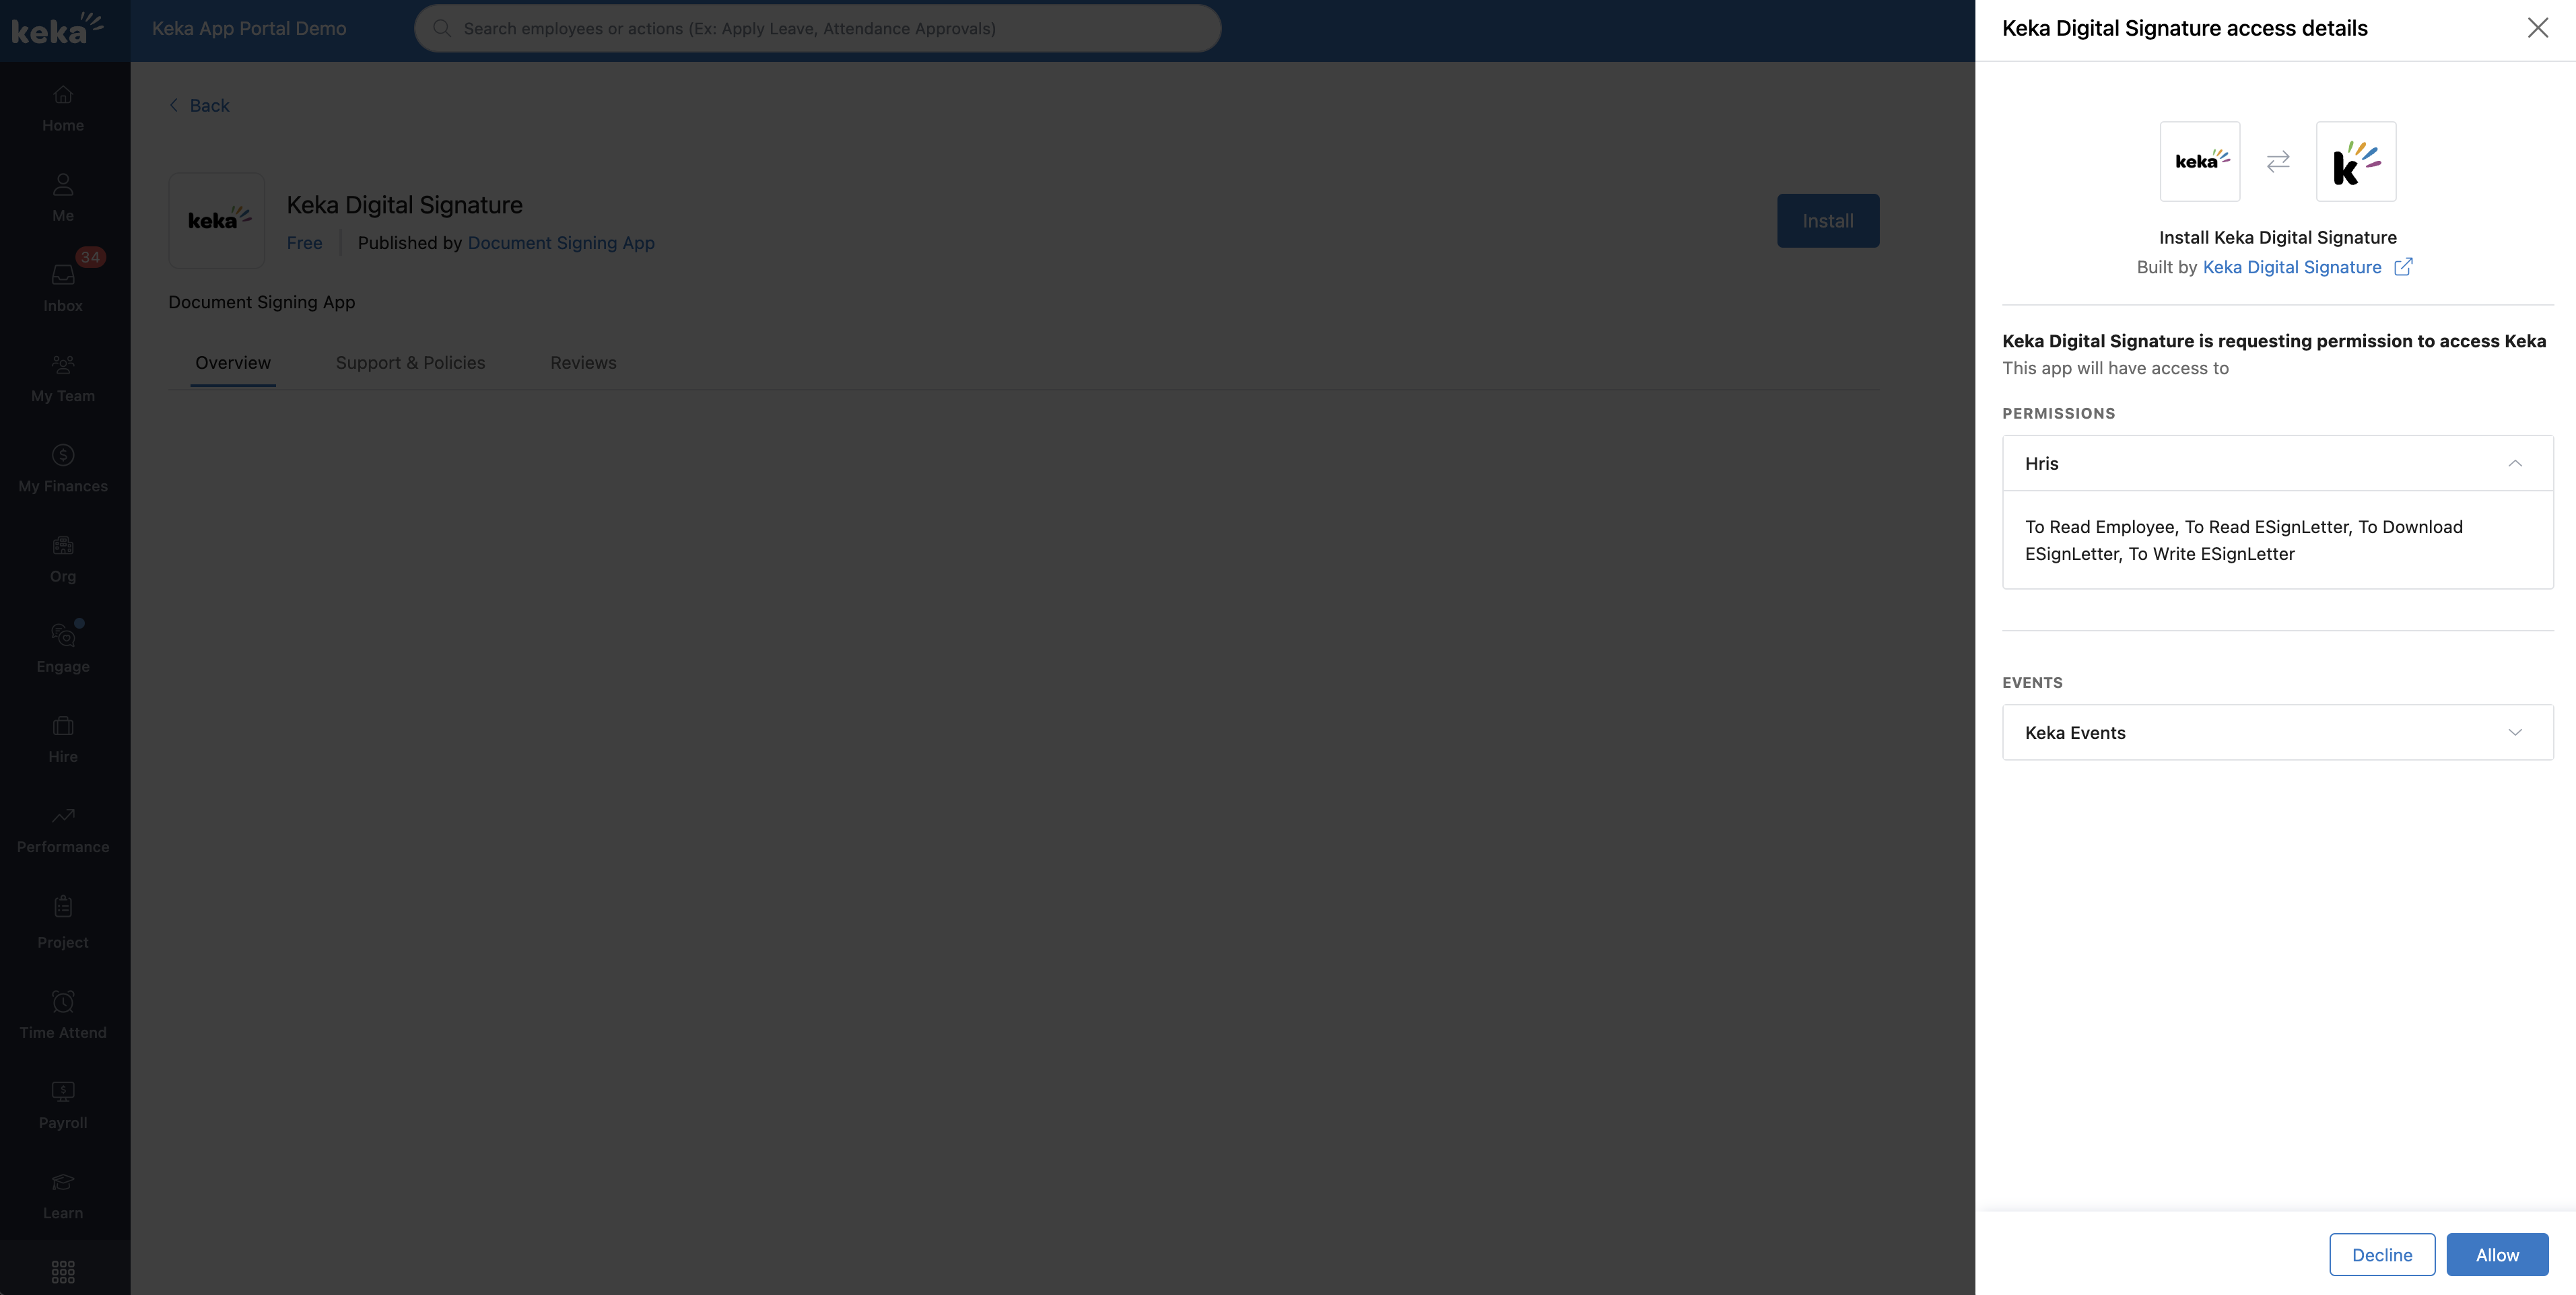
Open your Keka Sandbox and search for your eSignature app
-
Click on Install button on the app listing page and Install your app in the Sandbox.

-
An OAuth code will be shared with the Redirect URL added by you in Step 1 earlier
-
Refer to Step no. 8 on the App builder documentation and create an access token using this OAuth token which will be further used as a "Bearer token" to access Keka APIs
Step 4: Find your "appId"
- You can find and copy your appId from the app URL in the App portal or your Sandbox

Your appId is used as the "vendorId" while accessing the Keka Background Verification API in the next steps
Step 5: Initiate a background verification request for a Candidate or Employee from the Keka Interface
- Follow this documentation to initiate a create a letter for signing in Keka
- Note: Select your testing app as the signing platform instead of DocuSign
Step 6: View available documents for signing
- Use the Get Digital signature workflow request details to check the Document signing requests Initiated from Keka
- You will receive the following fields in the list of initiated document signing requests:
id: corresponds to the unique "requestId" for this signing requestdocumentName: name of the document available for signingemployeeId, assigneeId: ID of the employee and assigner, you can use the Get employee API to fetch the details associated with an employee and the assignersignatureCoordinates: Coordinates where the signature is supposed to be done including page number and the x and y coordinate- You can download the actual document using the Get Digital signature workflow document API
- Partners can use these details and the document to initiate the Signing process for a particular user through their platform.
- Once the Signed document for an employee is ready you can upload it to Keka using the Upload digitally signed document API and wait for other steps to be completed on Keka in the meantime and download the document again using the GET digital signature requests API once the document is ready to be signed after approval. You can run a scheduled cron job for fetching the pending documents once approval flow or actions are completed in Keka
Updated 22 days ago