
How to Create Your First App or Service on Keka App Portal
Follow these steps to create and manage your first app or service on the Keka App Portal:
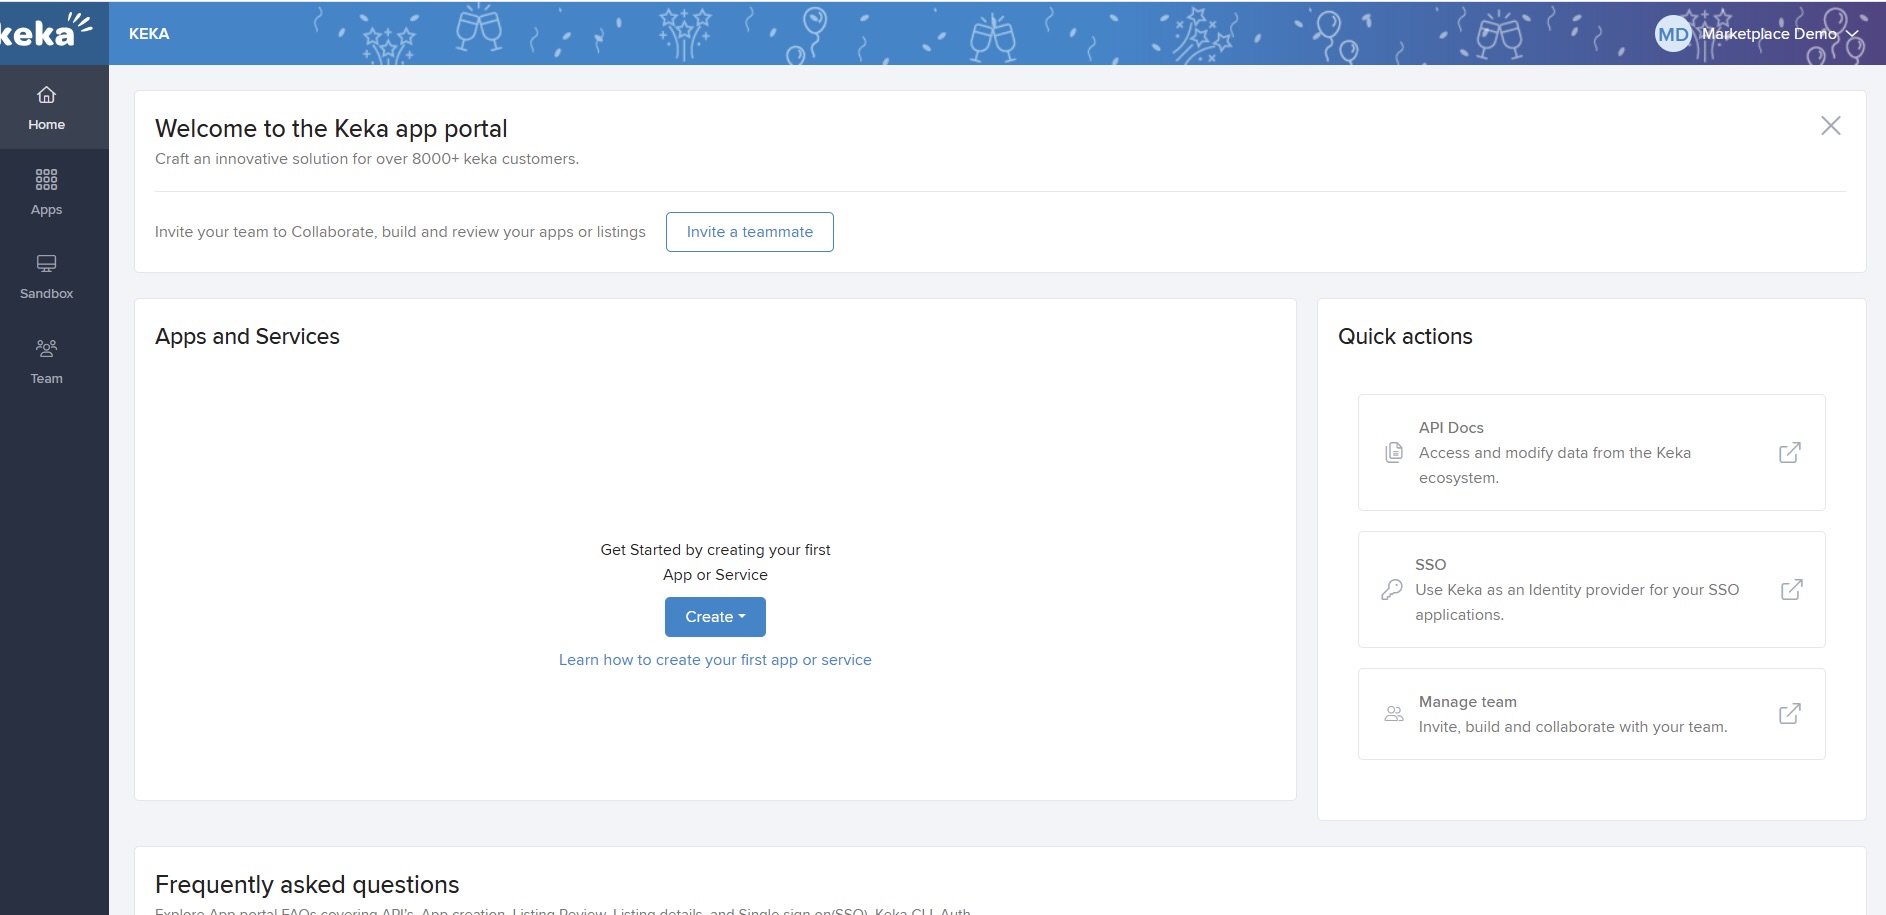
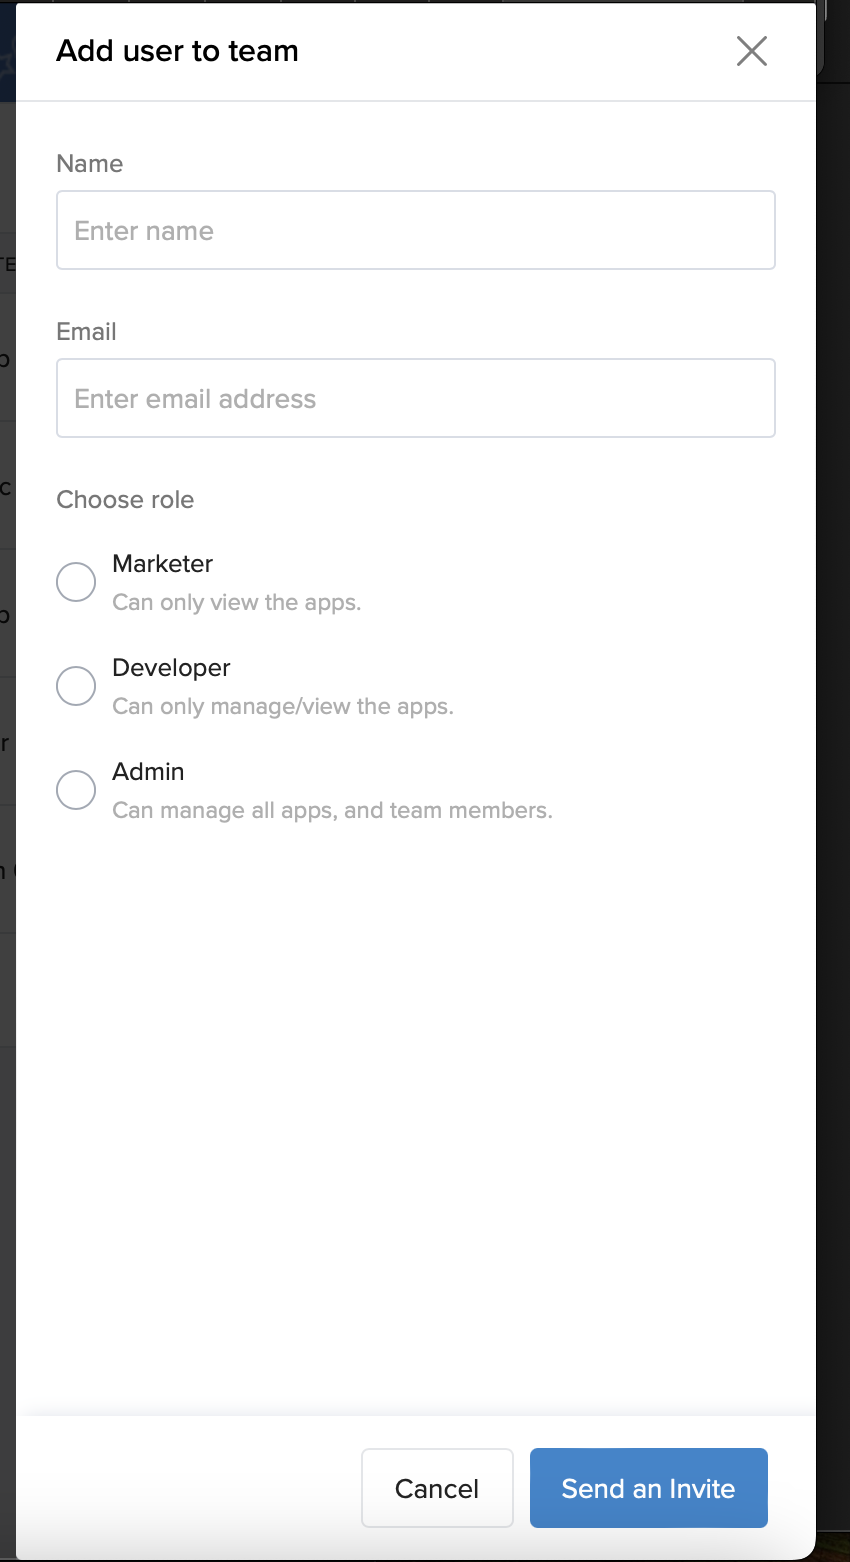
Step 1: Login and Manage Your Team
- After logging in to the App Portal, you can add more team members to your account.
- Assign roles such as Admin, Developer, or Marketer to manage your app effectively.
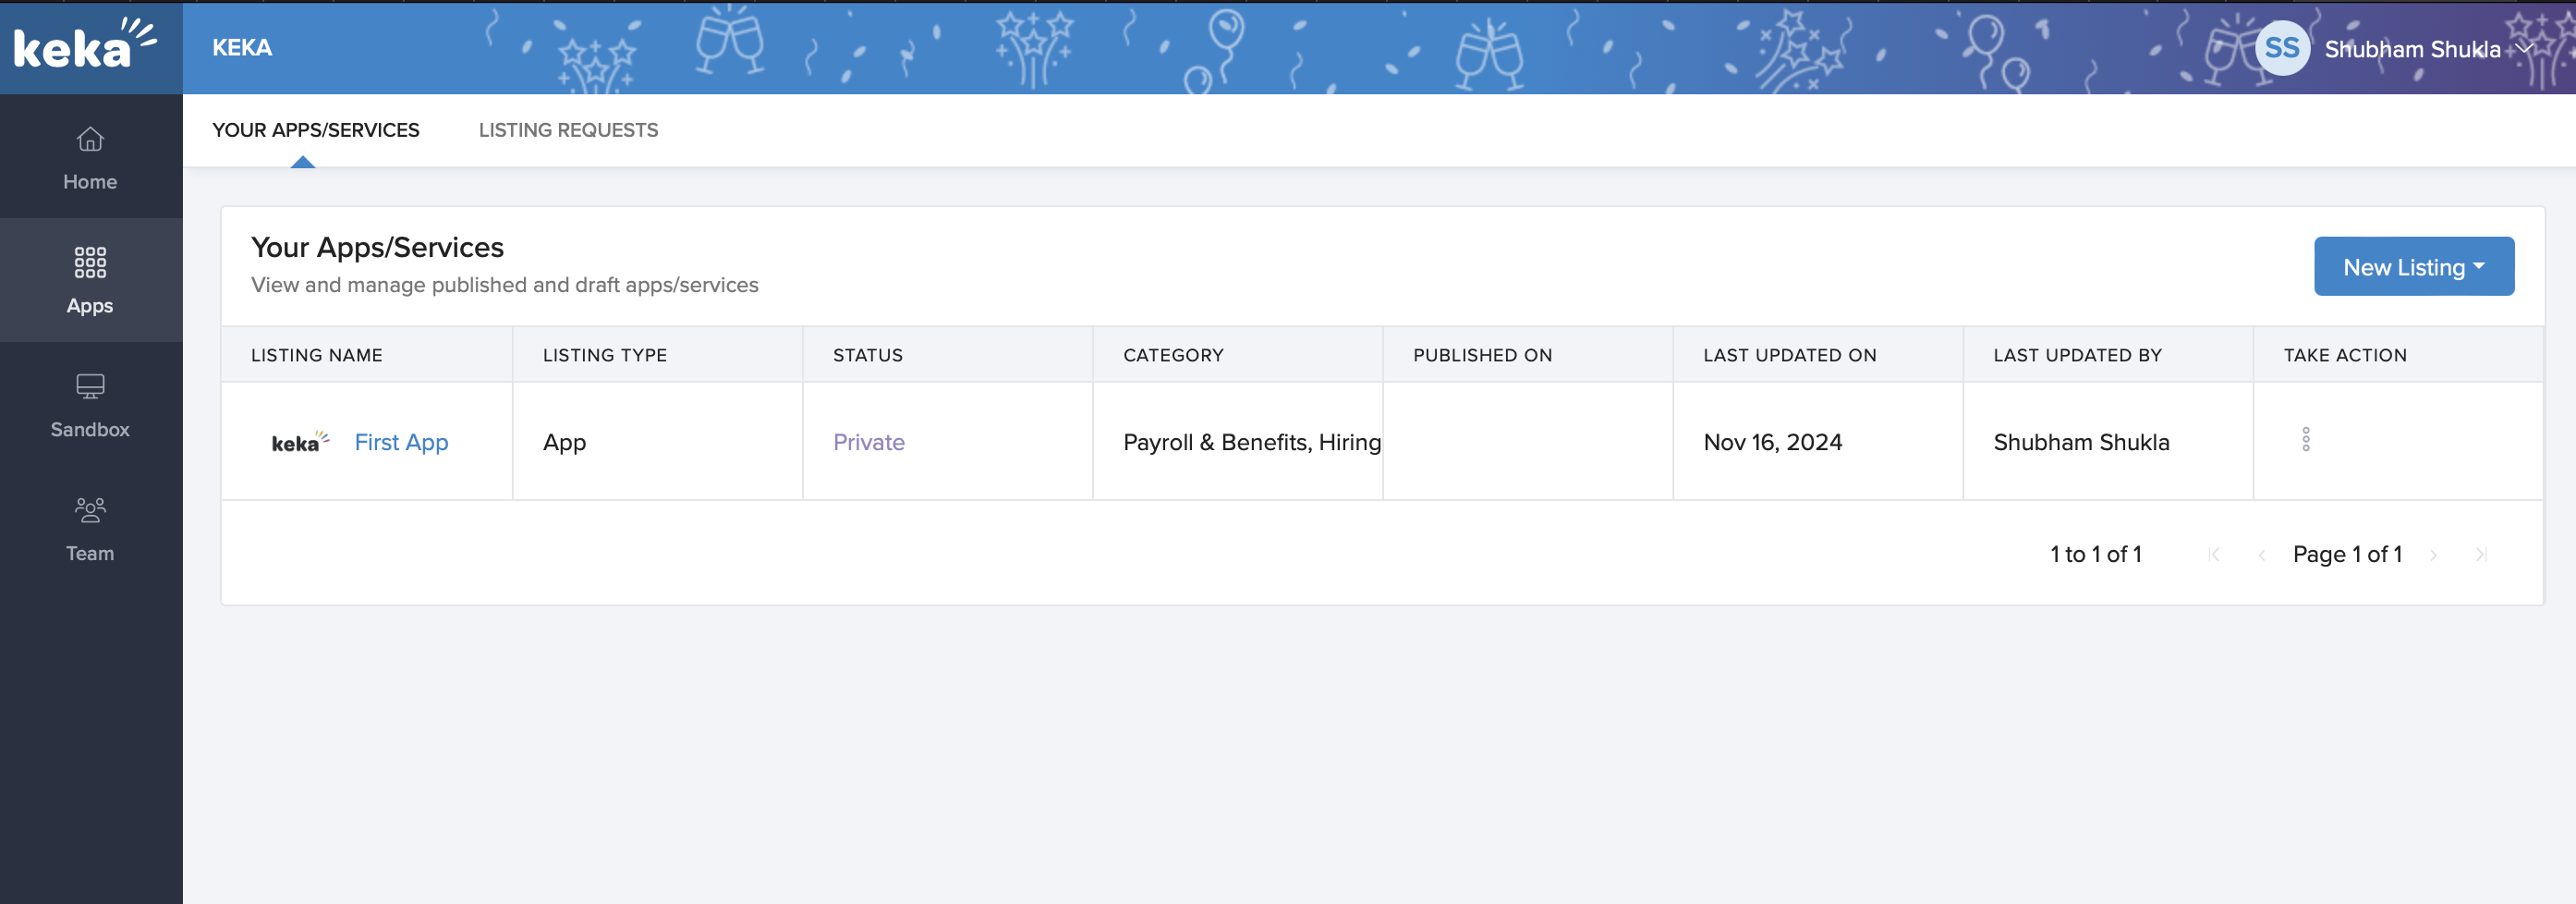
Step 2: Add a Service Listing
- To add a service listing:
- Go to the Service Listings section.
- Enter your service details.
- Submit the listing for approval.
- Once approved, your service will be live on the Keka Marketplace.
Step 3: Request a Sandbox Account
- For creating an app, you'll need a Sandbox Account:
- Navigate to the Sandbox section and raise a request.
- Once your request is approved, activate your Sandbox account.

Step 4: Create Your App
- In the App Portal, click on Create App and follow these steps:
- Provide the App Name, App Logo, and select your Sandbox workspace.
- Once the app draft is created, your Development and Production client credentials will be generated.
- Use Development Credentials for testing in Sandbox. Switch to Production Credentials when your app goes live.
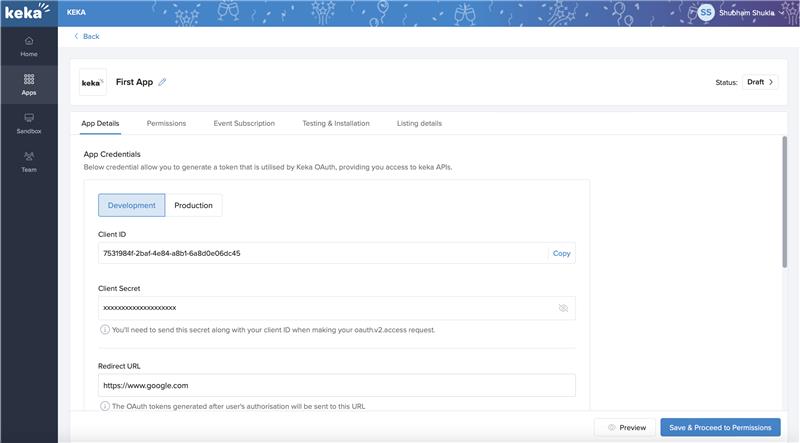
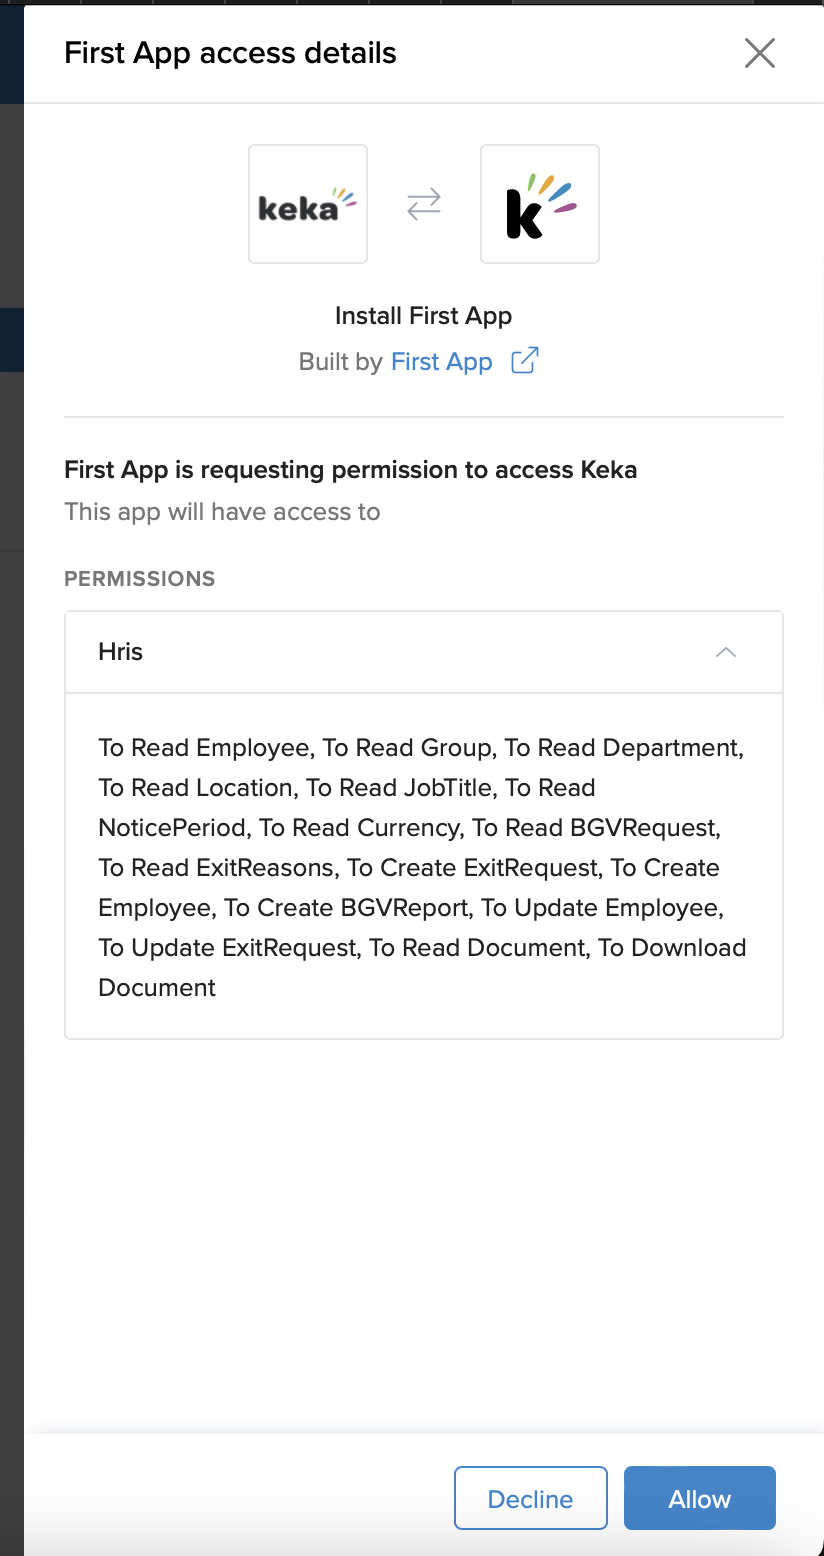
Step 5: Define Redirect URI and Permissions
- Specify the Redirect URI, which is the callback URL where the OAuth code will be sent when your app is installed in a Keka workspace.
- Define the permissions your app will require during installation.
Step 6: Configure Event Subscriptions (If Needed)
- If your app needs to listen to specific events:
- Enable Event Subscriptions.
- Define the events to subscribe to.
- Provide the Webhook URL where Keka will send event notifications.
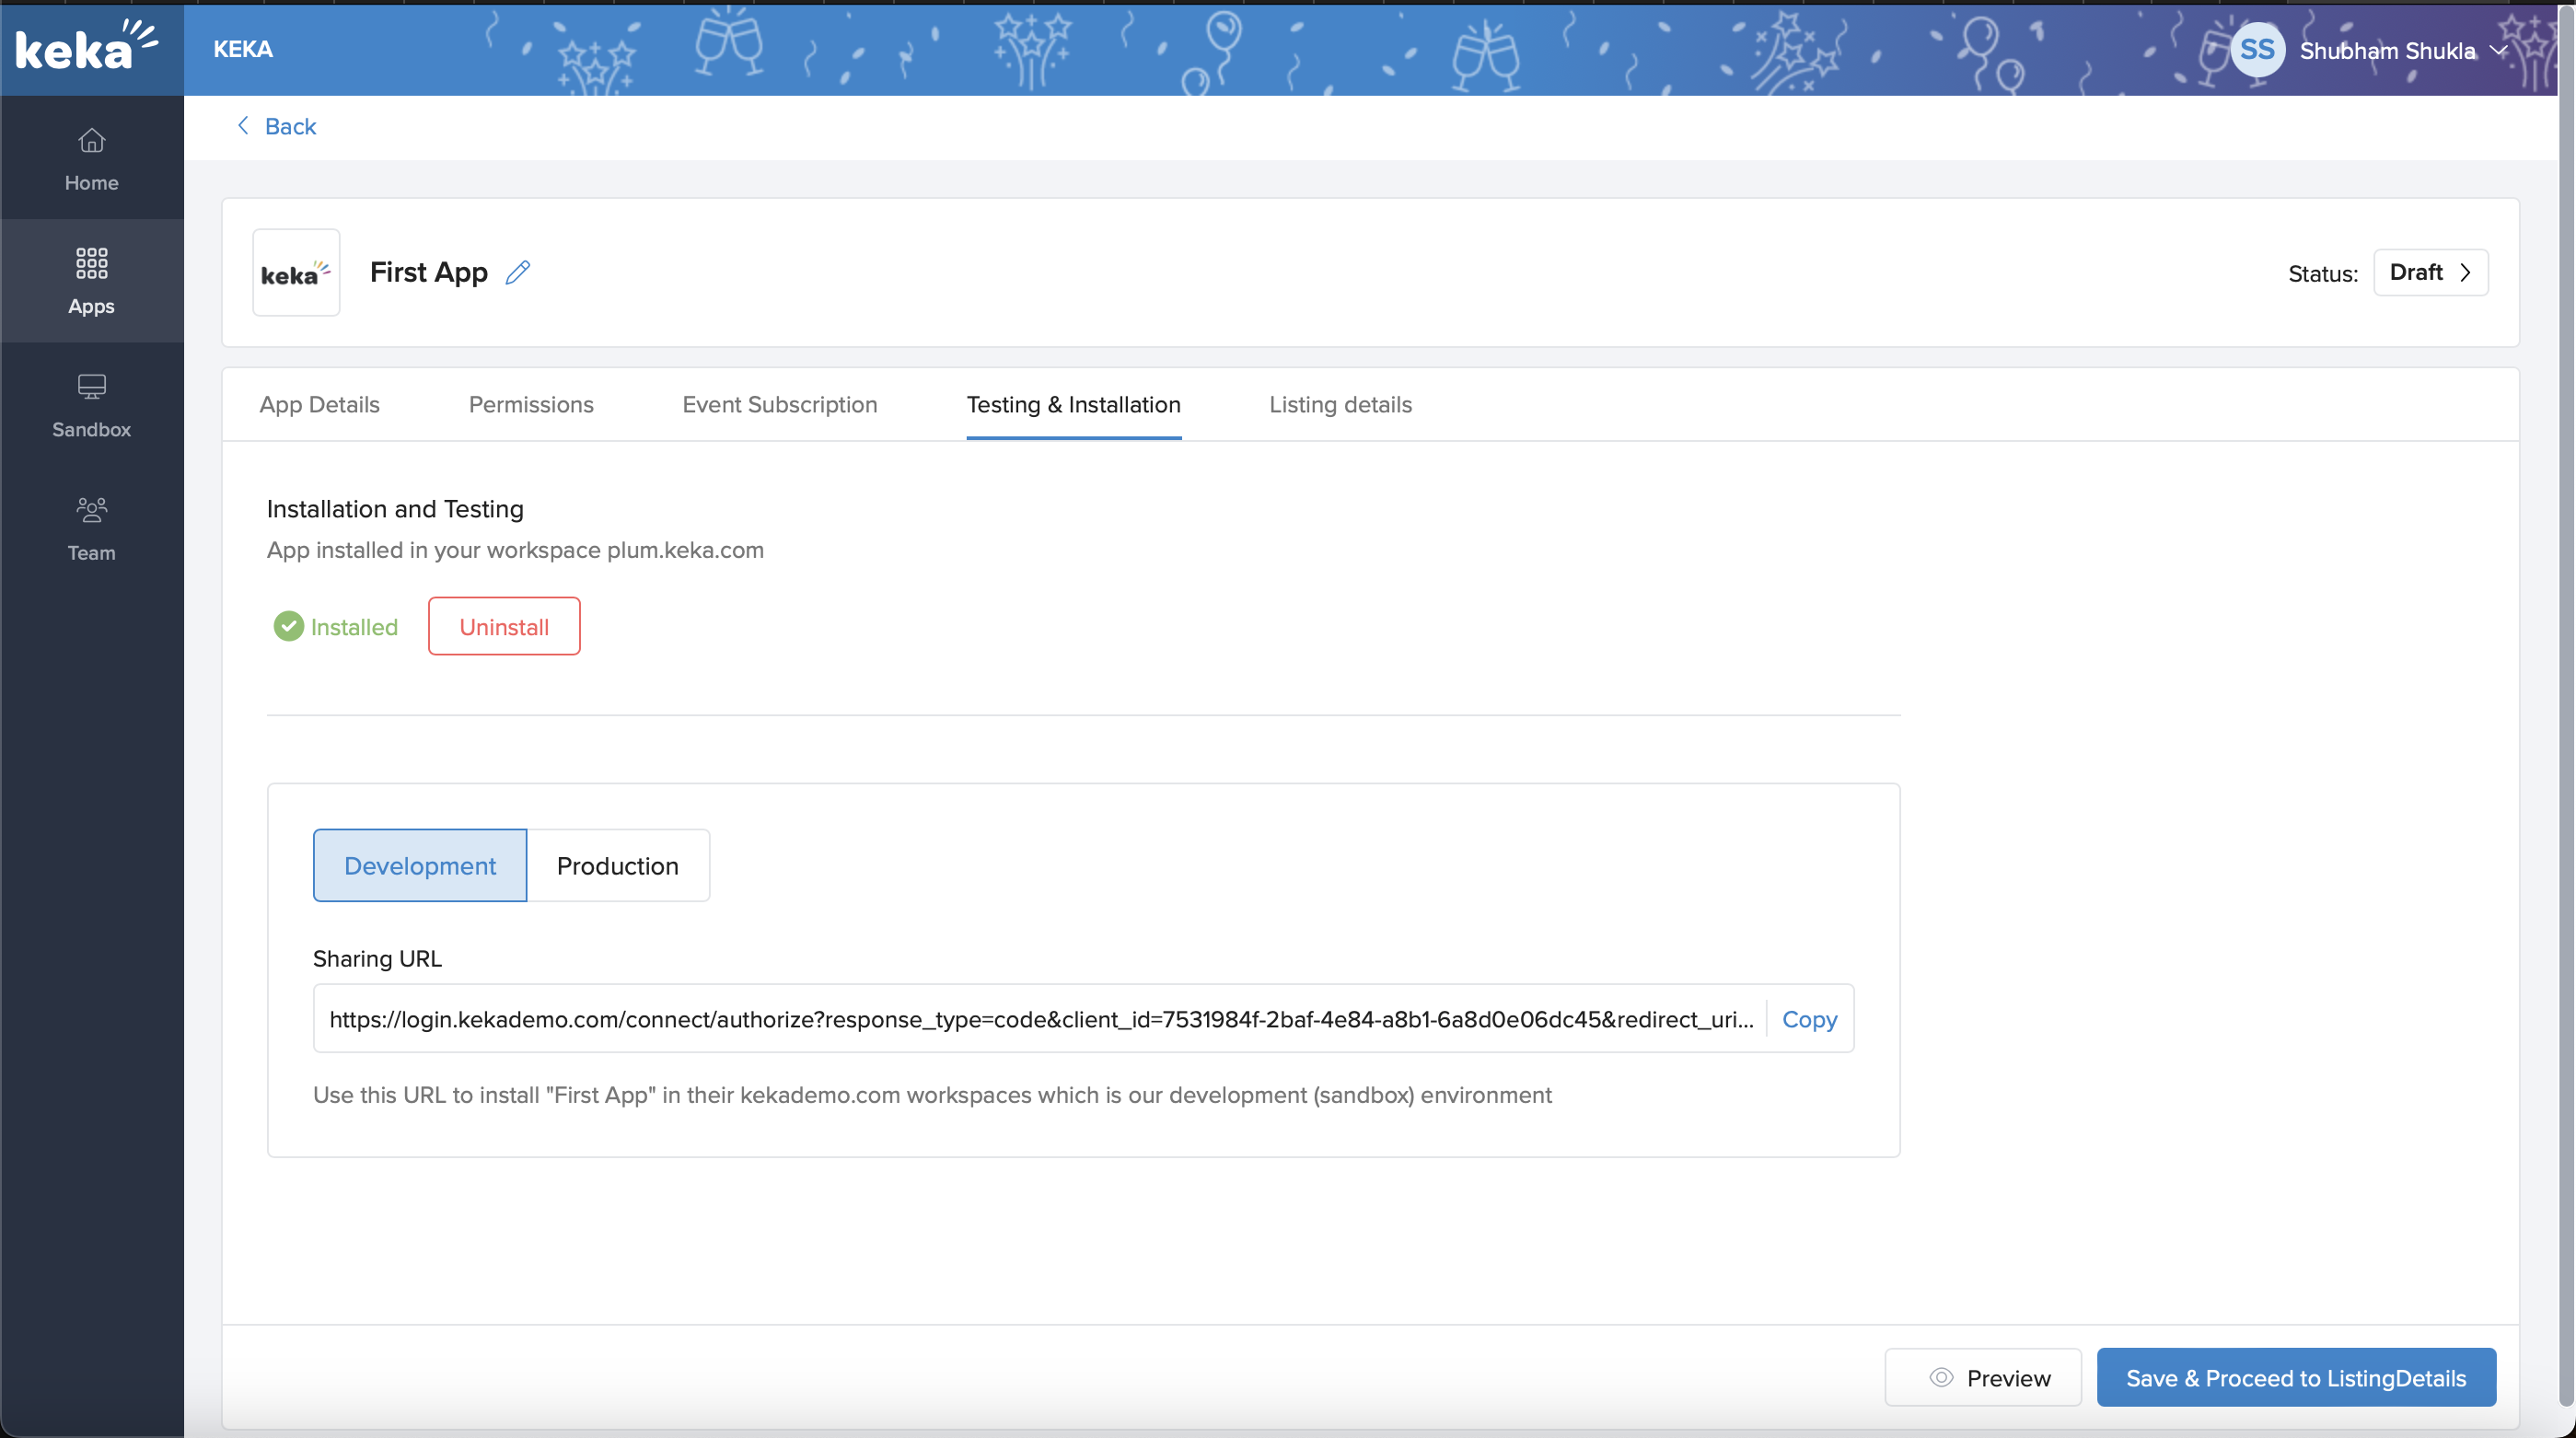
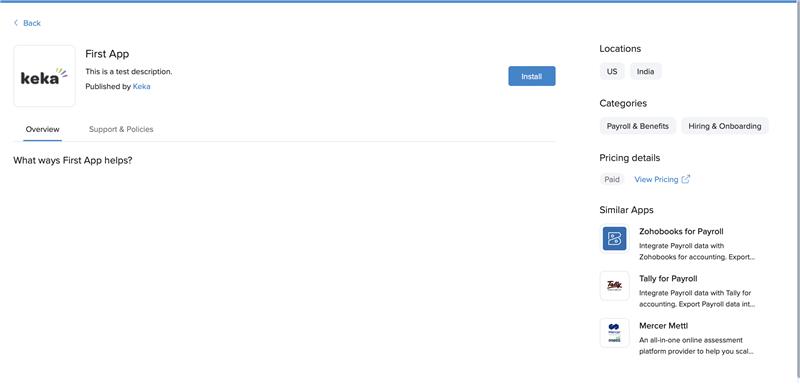
Step 7: Install and Test Your App
- Install the app as a private app in your Sandbox workspace:
- Click the Install button in the app details section.
- Provide OAuth consent during the installation process.
- Keka will send the OAuth authorization code to your callback URL.
Step 8: Use OAuth for Authentication
- Use the authorization code to generate access and refresh tokens:
curl --location 'https://login.kekademo.com/connect/token' \ --header 'Content-Type: application/x-www-form-urlencoded' \ --data-urlencode 'grant_type=authorization_code' \ --data-urlencode 'scope=kekaapi offline_access' \ --data-urlencode 'client_id=YOUR_CLIENT_ID' \ --data-urlencode 'client_secret=YOUR_CLIENT_SECRET' \ --data-urlencode 'redirect_uri=YOUR_REDIRECT_URI' \ --data-urlencode 'code=YOUR_AUTH_CODE' - Response: You'll receive an
access_token(valid for API calls) and arefresh_token(to regenerate access tokens when expired).
Step 8.2: Mark the app as installed
- Now that you have generated the access token, you can mark the app installed with this request:
- Mark App status endpoint
- You can mark the app as either status = 2 (installed) or status = 6 (error) to indicate the installation status of the app
- You need to mark your app as installed within 5 mins or it will automatically be marked as "installation error"
Step 9: Generate a New Access Token Using Refresh Token
- When your access token expires, you can use the refresh token to generate a new access token:
curl --location 'https://login.kekademo.com/connect/token' \ --header 'Content-Type: application/x-www-form-urlencoded' \ --data-urlencode 'grant_type=refresh_token' \ --data-urlencode 'client_id=YOUR_CLIENT_ID' \ --data-urlencode 'client_secret=YOUR_CLIENT_SECRET' \ --data-urlencode 'refresh_token=YOUR_REFRESH_TOKEN' - Response: You'll receive a new
access_tokenalong with a refreshedrefresh_tokenif needed.
Step 10: Call Keka APIs
- Use your access token to call Keka APIs and subscribe to events.
- You can find all available APIs at Keka Developers Portal.
Step 11: Submit Your App for Marketplace Listing
Once you've built and tested your app, and you're confident it's ready for the Keka Marketplace, follow these steps to list your app:
-
Provide Listing Information:
- Navigate to the Listing Details section of your app.
- Add all required listing details, such as:
- App description
- Key features
- Screenshots or videos
- Pricing (if applicable).
-
Add Technical Documentation:
- Include comprehensive technical documentation on how your app or service integrates with Keka.
- Provide any necessary setup or troubleshooting instructions for customers.
-
Submit for Review:
- After filling out all required information, submit your app for review by the Keka team.
-
Review Process:
- The Keka team will evaluate your app details.
- They might request additional information or a demo of your app.
- This review process typically takes 2–3 weeks.
-
App Approval:
- Once approved, your app's status will change to Published.
- Your app will be live and visible on the Keka Marketplace.
Note: Keep your credentials secure, and only use production credentials when your app is live on the Keka Marketplace.
Let us know if you need any help or support. Happy building! 😊